
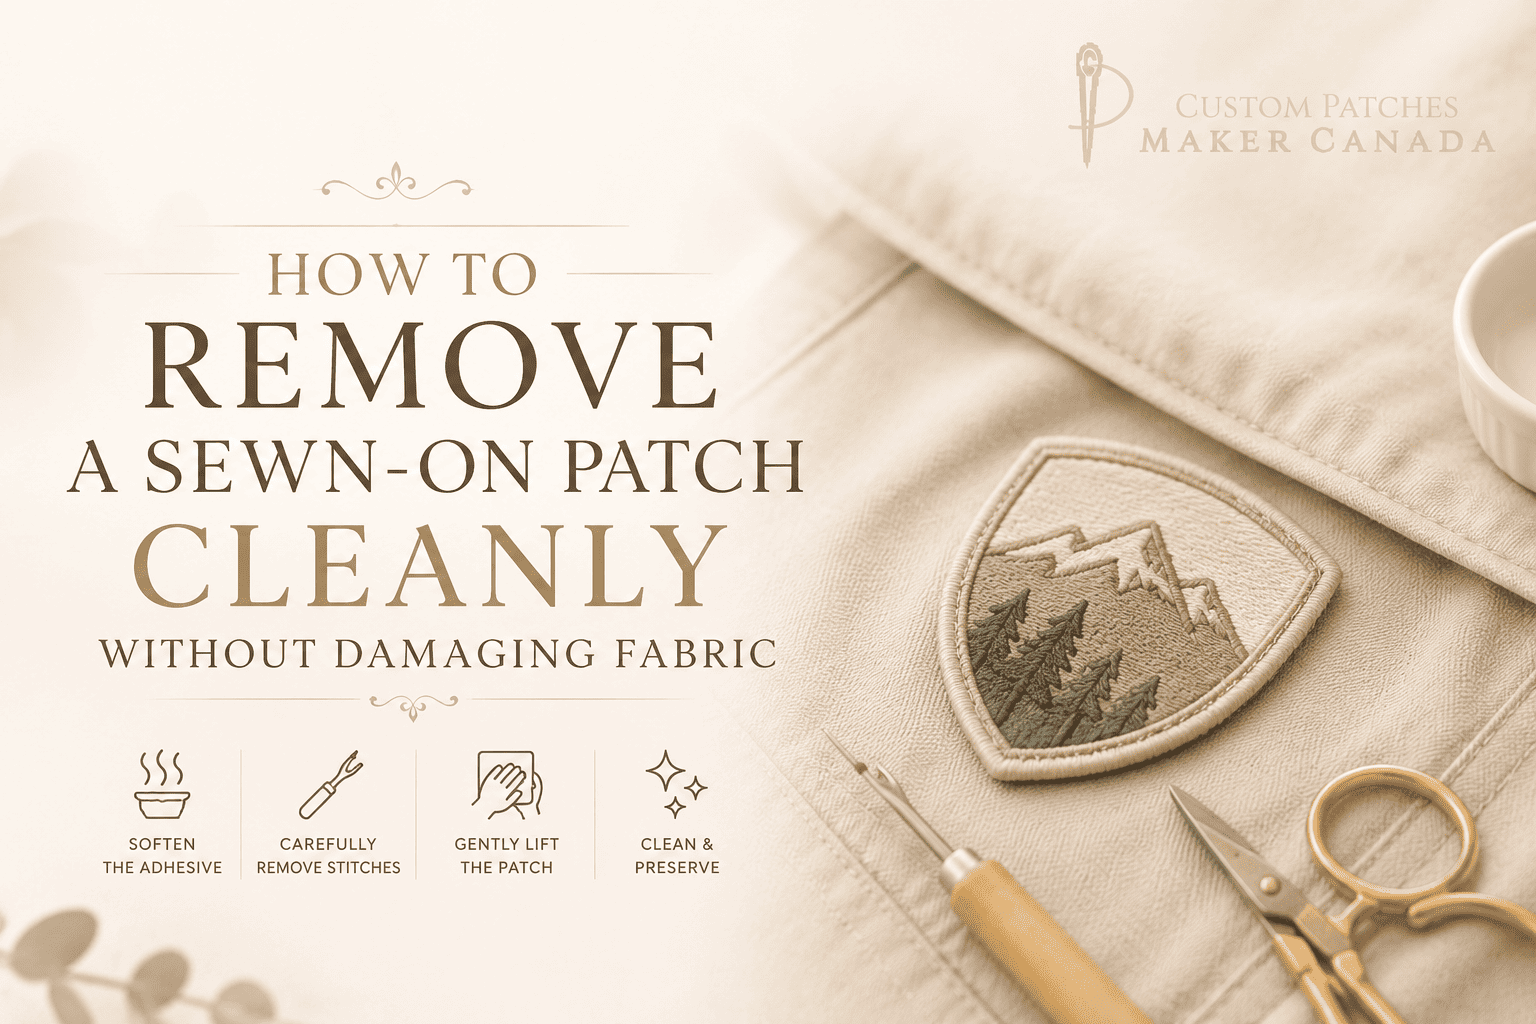
You can apply custom patches to any clothing using the sew-on method. Sew-on is the most reliable and long-lasting way of attaching the patch to your clothing. But some people want to upgrade their patches, so that’s why they want to remove sew-on patches from the clothes without any damage. Many people face this problem, where, while removing sew-on patches from the jacket or shirt, they see big holes in the fabric.
To fix the holes and carefully remove the sewn-on patch from clothes, let’s learn the proper removal methods. In this blog, we will talk about different use cases of removing sew-on patches with no damage.
What Tools Do You Need to Remove Sew-On Patches?
First of all, choose the right tools while removing the sew-on patches from your fabric. One wrong tool can be the reason for unwanted holes or damaged clothes. Here are the tools you need for perfect sew-on patch removal:
- Seam ripper or small embroidery scissors to carefully cut threads
- Tweezers to pull out leftover threads
- Lint roller or fabric shaver to remove loose fibers
- Gentle wash to remove any remaining residue and restore fabric cleanliness
How to Remove Sewn-On Patches from Jackets, Shirts and Clothing
Sometimes it becomes a nightmare while removing sew-on patches from your clothes. To avoid fray or holes while getting rid of sew-on patches, you should follow the proper steps.
General Patch Removal Steps
- Flip the garment inside out to access stitches from the back
- Carefully cut stitches with a seam ripper, taking extra care with delicate fabrics
- Use tweezers to pull out any remaining threads
- Remove fuzz and loose fibers with a lint roller or fabric shaver
- Lightly steam or iron the area to restore the fabric’s shape
- Work slowly to prevent tearing, especially on silk, polyester, or delicate materials
How to Remove Sewn-On Patches from Shirts
In case you want o remove sew-on patches from a shirt, you should be careful because shirts contain fragile clothes.
Key Steps
- Track all stitched areas before starting
- Cut each stitch individually with a seam ripper
- Slowly lift the patch, ensuring all stitches are removed
- Wash and lightly steam the shirt to remove any imprints
How to Remove Sewn-On Patches from Hats
Be extra careful with hats because they are made of layered and tight stitches. Avoid ruining the shape of the caps by following the proper steps to remove the sew-on patch.
Key Steps
- Inspect the stitching layers before starting
- Use a seam ripper slowly around the edges
- Peel off the patch gradually as stitches are cut
- Remove leftover threads with tweezers and a lint roller
- Steam or stuff the hat to restore its original shape
- Avoid excessive force on delicate or synthetic fabrics
How to Remove Sewn-On Patch from Uniforms
Please choose the right tool while removing the uniform sew-on patches because they are made of heavy-duty materials. If you use the wrong method or apply too much force, you may damage the fabric.
Key Steps
- Use a sharp seam ripper to cut heavy-duty stitches carefully
- Focus on one stitch at a time to avoid tearing
- Gently lift and peel the patch after loosening all stitches
- Smooth out wrinkles to see the remaining threads clearly
- Wash the uniform to restore its original shape and remove residue
How to Remove Sewn-On Patches from Jackets
You have to be patient while removing sew-on patches from your denim or leather jackets. It’s so upsetting if your favourite jacket gets damaged while using the wrong tool to remove the patch.
Key Steps
- Carefully cut stitches using a seam ripper
- Peel the patch slowly without pulling to protect the fabric
- Extract embedded threads with tweezers
- Wash the jacket to remove leftover residue and achieve a clean finish
Expert Tips for Safe Patch Removal
Always prefer to conduct your initial research about the fabric and patch type before you try to be the butcher. You cannot use a knife or nail cutters to remove the sew-on patches. Here are the essential expert tips you should follow while removing sew-on patches from fabric:
- Be patient to prevent stretching or tearing the fabric
- Always use the proper tools, like a sharp seam ripper or scissors
- Consider the fabric type; fragile fabrics need extra care
- Steam or iron lightly after removal to smooth minor imprints
- Wash gently to remove any remaining stitch marks or residue
Get Your Customized Sew-On Patches Today!
The correct method to remove the sew-on patches from clothes provides you with peace of mind and security for expensive fabric. Hopefully, you have learned something today. If you like our effort, don’t forget to share this with someone who needs our help.
Get your customized sew-on or iron-on patches in Canada today! Contact CustomPatchesMaker.ca is offering high-quality patches from leather, embroidered, PVC, to many others.
FAQs
Can I sew a patch with a sewing machine?
Yes, you can use a sewing machine to sew on any custom patch on your clothing. But you can set the speed to slow if you want the best results while applying the sew-on patches.
How do I cover a hole with a patch?
You can hide any holes in your fabric using a customized patch. First of all, thread a needle, then start using blind or running stitches to sew the patch on top of the hole. But make sure the hole is completely covered on the sides.
What is the best stitch for attaching patches?
There are multiple types of stitches while applying the patches, but the best ones are the whip stitch or the running stitch. In case you want to use a sewing machine, you can use both zigzag and straight stitches over the edges to provide durability.